
Windows do a lot of heavy lifting for comfort and energy savings, but even the best frames and panes can’t perform if deteriorated sealant leaves gaps for drafts and water. This guide walks you through removing old caulk thoroughly, prepping the joint, and applying a fresh bead that looks clean and lasts. You’ll learn how to soften stubborn sealant, lift it without damaging trim, and clean the substrate so new material bonds as intended. We’ll also cover choosing the right product for your climate and window material, plus proven tooling techniques that deliver a crisp finish. If you’re tired of foggy panes, chilly corners, or swelling sills, Discover Now how precision resealing can make a tangible difference in both comfort and utility bills. Use this practical Window Caulk Removal Guide to work safely and efficiently—whether you’re refreshing a single sash or updating every window in the house.
Why Proper Caulk Removal Is Key to Energy Efficiency
Removing every trace of failed sealant is not about aesthetics; it’s about restoring the building envelope’s integrity so conditioned air stays in and the elements stay out. When old caulk cracks, shrinks, or debonds, it creates micro-gaps that act like tiny chimneys, pulling air through frames and into wall cavities. Those pathways degrade thermal performance and can skew your HVAC runtime, raising costs even if your insulation and windows are otherwise sound. Moisture also follows air leaks, and when water penetrates, it fuels mold growth and wood rot, further compromising performance and indoor air quality. Thorough removal paves the way for a new, continuous seal that halts these losses and supports an airtight, watertight seal.
How Leaky Seals Drain Your Heating and Cooling
Leaky seams cause problems year-round by amplifying the stack effect in winter and admitting heat in summer, which reduces comfort and strains mechanical systems. A small slit along a sash or jamb may seem harmless, but multiplied across a home’s windows, the effective hole can equal leaving a window partially open all day. In energy audits, infrared images often reveal bright streaks around frames where poor caulking lets heat escape, underscoring how removal and re-application pay back. Just as important, leaving a film of old material behind often prevents new sealant from bonding, leading to premature failure and recurring leaks. When done correctly, a clean joint combined with the correct product re-establishes a resilient barrier that supports stable indoor temperatures and lower utility bills.
Essential Tools and Materials for Safe Caulk Removal
Safe, effective caulk removal begins with assembling the right tools so you can work deliberately without gouging trim or scratching glass. A sharp utility knife and a purpose-made caulk removal tool help slice and lift beads cleanly, while plastic scrapers protect delicate finishes. For stubborn, rubbery residue, gentle heat from a hair dryer or a low-temperature heat gun softens material so it peels away rather than tearing the substrate. Citrus-based gel removers and mineral spirits can loosen residue on many surfaces, though you should always test in an inconspicuous spot and ventilate well. Nitrile gloves, safety glasses, and a respirator rated for organic vapors keep you safe while you work with solvents and dust.
What to Have on Hand
Beyond removal tools, plan ahead for a flawless re-application by stocking a high-quality caulk gun with a smooth rod, backer rod in various diameters, painter’s tape, rags, and isopropyl alcohol for final wipe-downs. Choose your new sealant based on the window material and exposure: 100% silicone excels on glass and nonporous frames, polyurethane offers robust adhesion and flexibility, and hybrid MS polymer sealants balance paintability with movement. A joint is only as strong as the surface it adheres to, so clean, dry, and dust-free substrates are essential before the first squeeze of the trigger. Keep a few spare blades for your knife; dull tools slip and can mar wood or vinyl, extending the project and raising the risk of injury. If you’re following this as a Window Caulk Removal Guide for older homes, also consider a scraper with replaceable plastic blades and avoid aggressive solvents near antique finishes or lead-painted trim.
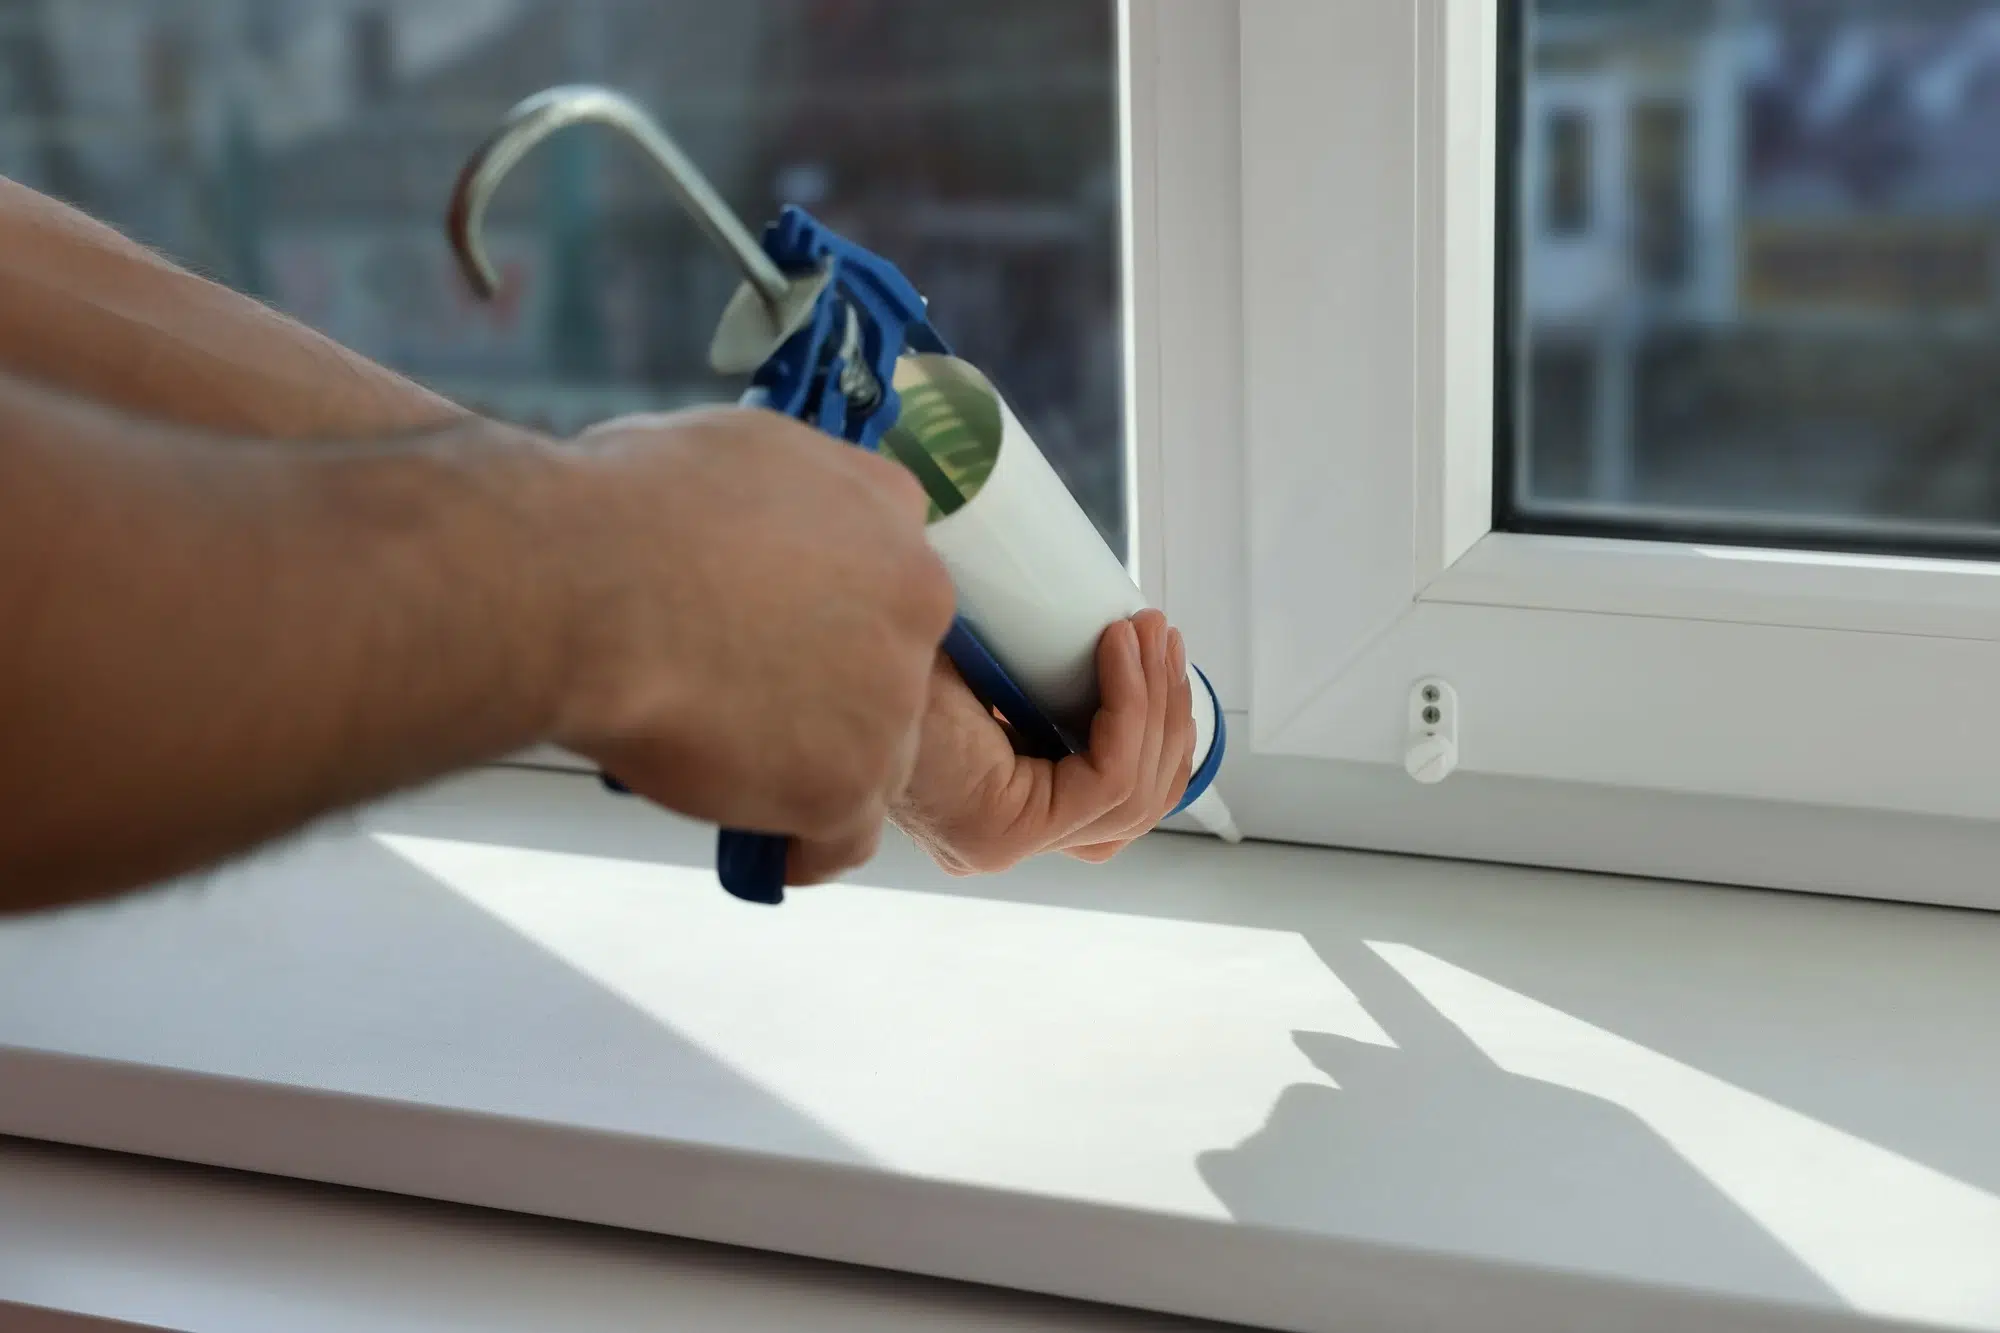
Techniques for Applying New Sealant With Professional Precision
Once the old caulk is gone and the joint is squeaky clean, you’re ready to rebuild the seal with precision. Start by confirming the joint is dry; moisture trapped beneath fresh sealant can bubble or inhibit curing. For gaps deeper than half the width, insert backer rod to control depth and prevent three-point adhesion, which can cause premature tearing. Cut your nozzle at a shallow angle so the opening matches the joint width, and puncture the inner seal cleanly to ensure even flow. Apply with steady pressure, holding the tip slightly compressed against the edges so you “push” the bead into the joint rather than dragging it on top.
Pro-Level Application Steps
Mask both sides of the joint with painter’s tape for crisp edges, then tool the bead within minutes using a caulk tool or a lightly wetted finger to smooth and press the sealant into contact. Keep your tooling strokes continuous to avoid ridges, and remove tape immediately while the sealant is still soft to preserve a sharp line. Maintain a roughly 2:1 width-to-depth ratio for elastomeric products, and avoid overfilling—too much material can skin over and trap uncured sealant beneath. Respect the manufacturer’s temperature and humidity guidelines, and don’t paint over non-paintable products; silicone, for example, should remain exposed. If you want a quick confidence boost before tackling a whole house, test your method on one window and refine your angle, speed, and tooling pressure—then, Discover Now how consistent technique delivers smooth, durable results every time.
Common Mistakes to Avoid During Resealing Projects
A fresh bead won’t rescue a dirty joint, so the first mistake is applying new sealant over dust, oils, or a film of old caulk. Even a millimeter of residue can block adhesion and create hidden channels for air and moisture, leading to an early callback on your own work. Another frequent error is skipping backer rod in wide gaps, which makes the bead too deep and reduces flexibility, causing splits when frames expand and contract. Cutting too large a nozzle opening also leads to sloppy application and excessive waste, leaving bulging beads that are hard to tool and slow to cure. Finally, applying in extreme cold or direct sun can ruin the finish and prevent a uniform bond, so plan your timing around moderate conditions.
Pitfalls That Sabotage Seals
Mismatch between product and substrate is another major culprit: using paintable acrylic on a highly mobile joint or sticking silicone where it will later be painted invites disappointment. Over-tooling the bead after skinning starts can tear the surface, introducing micro-fissures that collect dirt and degrade faster. Ignoring cure times is equally risky; premature exposure to rain or window operation can imprint, wash out, or stretch the seal before it achieves strength. Removing painter’s tape too late causes ragged edges that look unprofessional and may even lift partially cured sealant off the joint. A mindful pace, good surface prep, and respect for manufacturer specifications will prevent these pitfalls and keep your reseal looking crisp for years.
Routine Maintenance for Weatherproof Window Protection
Once you’ve restored your window seals, a simple maintenance rhythm keeps them performing at their peak. Inspect frames in spring and fall, looking for hairline cracks, gaps at corners, or areas where the bead has pulled from one side. Gently press along the seal; soft, spongy spots or chalking indicate UV degradation and signal it’s time for touch-up. Keep the area clean by washing away grime that can break down sealants and hold moisture against the joint. If condensation persists indoors, check humidity levels and ventilation—excess moisture can stress seals and encourage mold on sills and jambs.
A Simple Seasonal Checklist
Twice a year, wipe joints with mild soap and water, rinse, and dry thoroughly so you can spot small flaws before they become leaks. For sliding or double-hung windows, clear weep holes and tracks to ensure drainage works as designed, which reduces standing water against seals. Carry a small tube of matching sealant for quick fixes; short touch-ups are faster and more reliable than waiting until widespread failure demands full removal. Expect quality exterior sealants to last five to ten years depending on exposure, but movement, UV intensity, and building settling can shorten that range, so let visual cues drive your schedule. Commit to this routine, and Discover Now how a few minutes each season can protect finishes, enhance comfort, and preserve energy savings; it’s the practical capstone to any Window Caulk Removal Guide that aims for long-term results.